Improved quality inspection enabled by technology
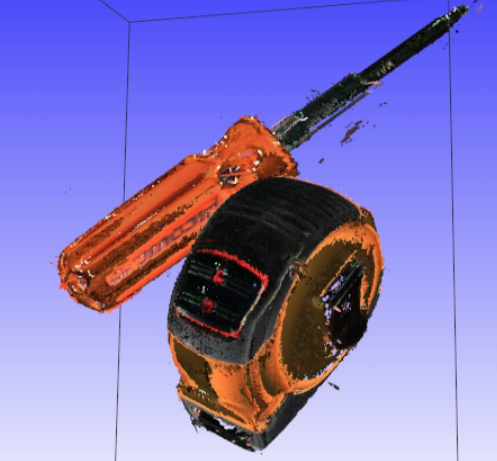
The Ajile Depthscan’s structured light 3D imaging is a powerful technology used in manufacturing to ensure product quality, accuracy, and consistency. This method projects a series of light patterns onto an object’s surface and analyzes how the patterns deform to create a highly detailed, three-dimensional representation. By comparing these scans to the original CAD model or predefined tolerances, manufacturers can detect defects, measure dimensions, and verify part integrity with extreme precision.


Structured Light for Superior 3D Imaging
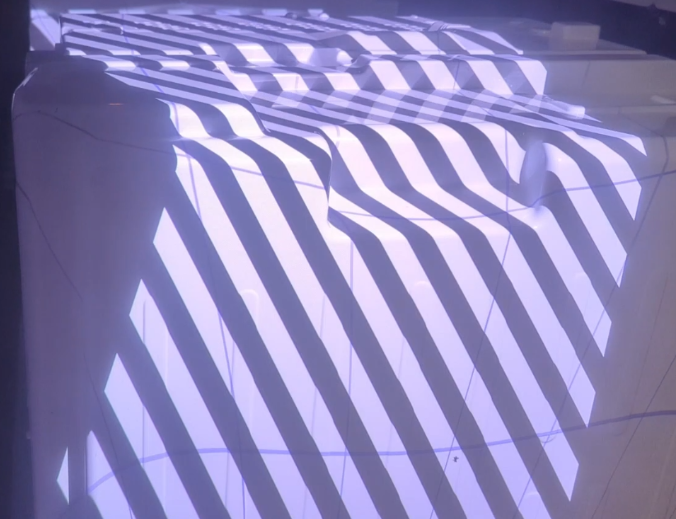
Structured light 3D imaging systems use a projector to cast known patterns, such as stripes or grids, onto an object. Cameras capture how these patterns warp based on the object’s shape. By processing the deformation mathematically, software reconstructs a full 3D model of the part. Unlike traditional inspection methods, which may rely on physical gauges or contact-based measurement tools, structured light provides a non-contact, highly accurate alternative.
Unique Capabilities of Depthscan 3D Systems
- Full Color 3D Imaging: Parts with fiducial markers or other color features can be inspected on this basis. Proprietary color balancing algorithms work to compensate for low-light or reflective areas in the scan area.
- Fast Throughput: With onboard pre-processing and GPU acceleration, each scan is not only captured, but delivered in a useful format in real time.
- Multi-camera Integration: The ability to connect a series of two or more calibrated Depthscan units provides coverage of an entire part, avoiding missed features caused by occlusions in the scene.
- 360 Degree Stitching: Ajile high-accuracy stitching software combines multiple views for complete analysis of the part being inspected.


Applications in Quality Assurance
Defect Detection: The system can identify surface defects such as scratches, dents, or deformations that might be invisible to the naked eye.
Dimensional Inspection: By comparing the scanned model to the original design, manufacturers can detect deviations in measurements, ensuring parts meet strict tolerances.
Automated Inspections: Integrated into production lines, structured light scanners enable real-time, automated quality control, reducing human error and improving efficiency.
Reverse Engineering & Part Validation: If a part has unknown dimensions or requires replication, structured light scans can create a digital twin for analysis or reproduction

